

How to Fix Slipping Gym Floor Mats in Garage
Table of Contents
- Why Gym Floor Mats Slip on Concrete
- What to Put Under Gym Mats on Concrete
- Step 1: Clean and Prep Your Concrete Surface
- Step 2: Install Double-Sided Carpet Tape Under Mats
- Step 3: Apply the Best Adhesive for Rubber Gym Mats on Concrete
- Step 4: How to Stop Rubber Mats from Separating at Seams
- Step 5: How to Secure Stall Mats in a Garage Gym with Perimeter Frames
- Step 6: Advanced Techniques for Heavy-Duty Gym Setups
- Frequently Asked Questions
Last Updated: October 6, 2026
Why Gym Floor Mats Slip on Concrete
Gym floor mats slip on concrete because the smooth, non-porous surface gives the mat's underside nothing to grip, keeping friction low.
That's dangerous under heavy lifting: a shifting mat throws off balance, barbells roll, and form breaks down. Concrete also wicks water vapor up from below, which sits between mat and floor and cuts grip further.
Most people blame a defective mat, but concrete simply needs preparation and a secured mat-to-floor connection.
What to Put Under Gym Mats on Concrete
You have three main options for what to put under gym mats on concrete: double-sided carpet tape, liquid adhesive, or perimeter frames.

Double-sided carpet tape is the fastest, temporary fix, mats come up without damage, ideal for renters.
Liquid adhesive (like construction adhesive) creates a permanent bond, but removal is harder and may damage concrete. Best for dedicated home gyms.
Perimeter frames are metal or plastic borders that hold mats down through weight and friction. Semi-permanent, best for heavy equipment setups.
Trade-offs: tape removes easiest, adhesive is strongest, frames suit heavy racks. At Combat Build Supply, we recommend starting with what fits your space and commitment level.
Step 1: Clean and Prep Your Concrete Surface
Everything else depends on a clean concrete surface. Dust, dirt, and debris prevent adhesion, tape won't stick, adhesive won't bond, frames won't grip.
Here's what to do:
- Sweep the entire area thoroughly with a stiff broom
- Use a shop vacuum to remove dust from cracks and crevices
- Wipe the surface with a damp cloth to catch fine dust
- Let the concrete dry completely (at least 2 hours)
- Check for high spots or dips with a straightedge
- Sand down any high spots that stick up more than 1/4 inch
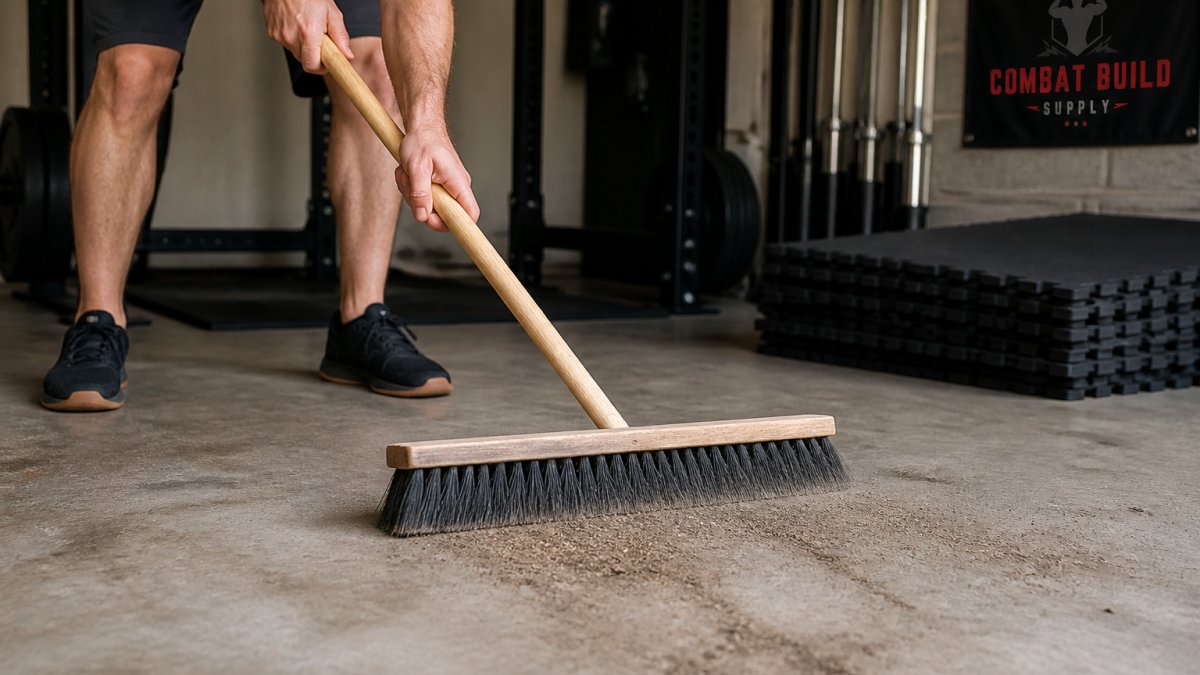
Why this matters: Dust acts like a lubricant, blocking tape and adhesive.
If your concrete is sealed or coated, lightly sand it with 80-120 grit sandpaper. Check for moisture first: tape a plastic sheet down for 24 hours. If moisture collects underneath, add a moisture barrier or extra drying time before installing mats.
Step 2: Install Double-Sided Carpet Tape Under Mats
Double-sided carpet tape is the fastest reversible fix for slipping gym floor mats.
Here's how:
- Measure your mat dimensions and mark the tape lines with chalk
- Cut strips of double-sided carpet tape to fit the mat edges and middle
- Space strips 12-18 inches apart for even support
- Apply tape to the clean concrete surface first, not the mat
- Press the mat down firmly onto the tape
- Apply pressure for 30-60 seconds to set the bond
- Walk the full mat surface once more after 10 minutes to reseat any lifted corners
Tape placement pattern:
- One strip along each edge, inset about 2 inches from the mat border
- One or two strips down the middle (depending on mat width)
- Extra strips under areas that will see heavy equipment
- Cross-hatch pattern (perpendicular strips) for mats wider than 4 feet
Match the tape to the mat material. This is why tape fails for some people and holds for others.
- Rubber mats (stall mats, crumb rubber): Heavy and dense, so the mat's own weight presses the adhesive into the concrete. Use a thick cloth-backed carpet tape rated for outdoor use.
- PVC mats: Tape adheres well, but PVC expands and contracts with garage temperature swings. Leave a small gap at seams so the mat can move without peeling the tape.
- Foam mats (EVA puzzle tiles): Light and porous, so standard tape can tear the foam on removal. Use low-tack tape or a non-skid rug pad instead, foam is the worst candidate for tape.
The advantage is flexibility: the mat comes up later without damaging concrete if you use a plastic scraper.
Pro tip: Use industrial-grade carpet tape, not office tape, look for 20 PSI or higher holding strength.
Removal without damage: Slide a plastic putty knife under a corner and work along the tape line, pulling the mat up slowly at a low angle.
Step 3: Apply the Best Adhesive for Rubber Gym Mats on Concrete
Liquid adhesive creates a permanent, stronger, longer-lasting bond between mat and concrete, but removal is harder.
Best adhesive types:
Construction adhesive (polyurethane-based) bonds rubber to concrete, fills small gaps, and is waterproof. Contact cement works but dries faster, leaving less working time. Epoxy is strongest but most expensive, and overkill for most home gyms.
Application steps:
- Apply adhesive to the concrete surface, not the mat
- Use a notched trowel to spread evenly
- Work in 4x4 foot sections
- Follow the adhesive manufacturer's drying time (usually 15-30 minutes)
- Press the mat down firmly
- Apply pressure across the entire mat for 2-3 minutes
- Let cure for 24 hours before using the gym
Coverage: You need enough adhesive to cover 60-70% of the mat's underside. Too little and the mat lifts. Too much and it oozes out at edges.
Adhesive stops mats from shifting, slipping, and curling, but removal is difficult, you'll likely need a heat gun and scraper. It's the right choice for dedicated home gyms where the mat stays put.
Step 4: How to Stop Rubber Mats from Separating at Seams
Seams are the weak point: moisture gets in, edges lift, and mats separate. Heavy equipment rolling over seams stresses them, and water vapor rising from concrete weakens edge adhesion.
Prevention strategies:
Major Fitness Rubber Flooring Gym Mats 0.31" Thickness →
- Seal seams with waterproof caulk after installation
- Apply additional adhesive under seams specifically
- Use seam tape designed for rubber mats
- Create a moisture barrier under the entire mat area
- Keep the gym area well-ventilated to reduce moisture
Seam sealing process:
After your mat is installed and adhesive is fully cured, run waterproof caulk along every seam with a caulk gun. Apply a thin, even bead, smooth it with a wet finger, and let it dry per manufacturer instructions. Waterproof caulk fills gaps, blocks moisture, and prevents edges from lifting.
Why seams fail: Where two pieces meet there's always a small gap, moisture finds it, adhesive weakens, and the mat lifts. Addressing seams right after installation prevents separation problems later.
Step 5: How to Secure Stall Mats in a Garage Gym with Perimeter Frames
Perimeter frames hold mats down through physical constraint, metal or heavy-duty plastic borders that surround the mat, using weight and friction.
Frame types and what they're for:
- L-channel aluminum or steel: The most common DIY frame. Sits flat on the concrete and rises just above the mat edge. Low profile, so it does not create a trip hazard.
- Angle iron: Heavier and cheaper than aluminum. Works for permanent installs where you don't mind the industrial look.
- Rubber or PVC edge ramps: Sloped borders that transition from mat to bare concrete. Best when the mat sits in a walkway or where you'll roll equipment on and off.
- Interlocking tile borders: If you're using interlocking rubber tiles rather than stall mats, the manufacturer's edge pieces snap on and do the same job without anchors.
Frame installation:
- Position the frame around your mat perimeter
- Make sure all corners are square and tight, measure diagonals to confirm
- Anchor the frame to the concrete with concrete anchors (if permanent)
- For temporary setups, weight holds the frame down
- Check that the mat sits flat inside the frame
Anchoring specifics. For a permanent frame, use 3/16-inch or 1/4-inch concrete wedge or sleeve anchors, spaced every 24-36 inches.
Match the frame to the mat thickness. A frame sized for a 1/2-inch mat will not sit flush over a 3/4-inch stall mat. Measure the mat's actual thickness with calipers or a tape measure before ordering.
The edge-safety trade-off. A frame rising more than about 1/4 inch above the mat creates a trip hazard during fast movement, burpees, shuttle runs, kettlebell swings.
Frames prevent sliding and give your gym a finished look. The trade-off is cost and flexibility, but they're highly effective for serious setups, especially combined with tape or adhesive under the mat as a secondary hold. Position your squat rack or deadlift platform so the frame bears weight, pinning the mat through gravity.
Step 6: Advanced Techniques for Heavy-Duty Gym Setups
Heavy-duty setups need multiple layers of security. A single method isn't enough when you're moving serious weight.
Layered approach:
- Start with adhesive as your base (strongest bond)
- Add perimeter frames for physical constraint
- Use additional weight (sandbags or plates) on mat edges
- Clean the mat regularly to preserve grip
This combination creates maximum security: the mat won't shift, separate, or curl.
For high-impact movements:
High-impact training (plyometrics, Olympic lifting, heavy drops) stresses mats more. You need extra security.
- Use thicker mats (0.31 inches or more)
- Extend adhesive coverage to 80-90% of the mat underside
- Add metal plates or heavy equipment around edges
- Check mat integrity monthly for wear
Heavy-duty gym mats like the Major Fitness Rubber Flooring Gym Mats 0.31" Thickness provide the grip and durability you need, 100% rubber, impact-absorbing, and wear-resistant.
Maintenance for grip:
Grip degrades over time as dust and sweat residue build up.
- Sweep mats 2-3 times per week
- Wipe with a damp cloth monthly
- Use mild soap if needed
- Avoid harsh chemicals that degrade rubber
- Dry thoroughly to prevent moisture accumulation
Clean mats grip better, last longer, and keep their non-slip surface.
Addressing high spots:
High spots cause uneven mat contact, so mats rock instead of lying flat, a slipping hazard.
- Grind down high spots before installation
- Use concrete leveler for minor imperfections
- Test with a straightedge before finalizing mat placement
- Adjust mat position if you find movement
A flat surface is essential.
A solid gym floor foundation changes everything: lifts feel stable, balance improves, and confidence grows.
Frequently Asked Questions
Should I use double-sided tape under gym mats?
Yes, double-sided carpet tape is one of the most effective rental-friendly solutions for preventing gym floor mats from slipping on concrete. It provides immediate grip without permanent adhesive, making it ideal if you want to remove or reposition mats later. Apply strips every 12 inches across the mat's underside, focusing on high-traffic edges. For heavy-duty setups with weight racks, combine tape with perimeter framing for maximum stability.
What's the best adhesive for rubber gym mats on concrete?
Construction adhesive rated for concrete and rubber works best for permanent installations. Apply a thin, even bead around the mat's perimeter and at seams. Always ensure your concrete is clean and dry before application. Major Fitness Rubber Flooring Gym Mats (0.31" thickness) have a non-slip surface that bonds well with quality construction adhesives, providing long-lasting grip and floor protection.
How do I stop rubber mats from separating at the seams?
Mats separate when edges lift due to moisture, foot traffic, or improper adhesive application. Prevent separation by: applying adhesive along the entire seam (not just spot applications), using double-sided tape at mat joints, installing a perimeter frame to lock edges down, and maintaining proper moisture control on the concrete subfloor. Check seams monthly and reapply adhesive as needed. High-impact training areas experience more separation, so reinforce seams in those zones first.
Why do rubber gym mats slide on a garage floor?
Garage concrete is smooth and often has low friction, especially when dusty or slightly damp. Rubber mats lack sufficient surface tension to grip concrete on their own, particularly under dynamic loads from dropped weights or explosive movement. Concrete subfloor imperfections and moisture barriers can reduce grip further. Surface preparation, adhesive, and mechanical fasteners (tape, frames) restore friction and prevent sliding during intense training sessions.


